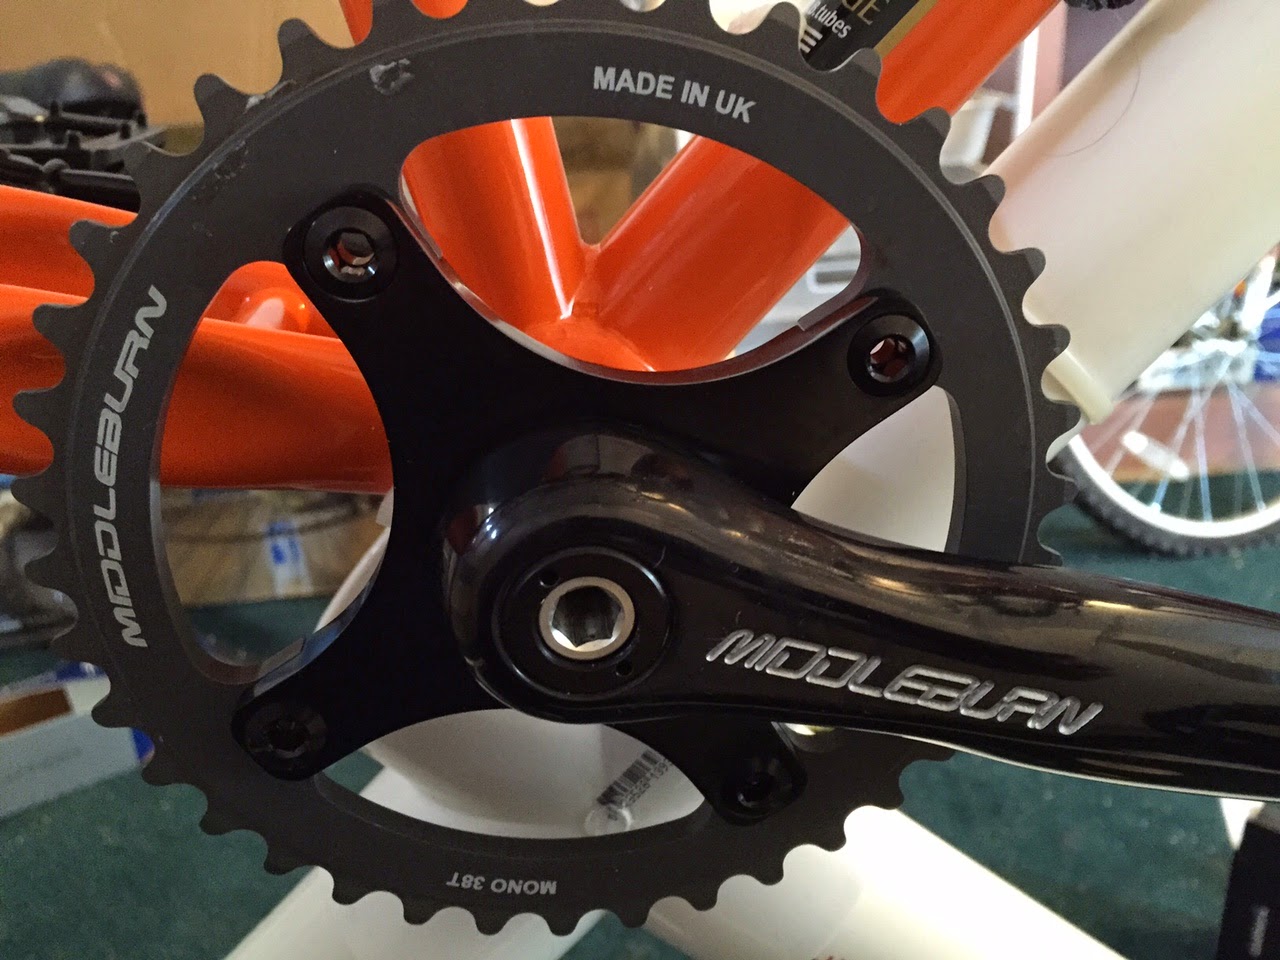
The only hiccup came when the plastic dust ring that covers the bottom bracket bearing got dislodged as I bumped (slammed) the spindle through with my palm. After withdrawing the spindle the ring got tapped back in with a hammer. A bit of grease and a gentler approach got the spindle through. It turns out I was fortunate, as learned later, that ring is quite brittle and breaks easily ... and cannot be purchased separately. I was just one mis-tap away from buying a new bottom bracket.
Pedals followed with the ease expected of a single bolt component. Just remember the lefthand threads on the left pedal. I used a small crescent wrench which worked without any knuckle damage, albeit a bit slower than a pedal wrench would have been. Lastly, a no frills pic of my no frills all-black pin pedal.


No comments:
Post a Comment